Step 3. Create a Mail Account

The mail service enables Internet users to send email messages to each other. Plesk can function as your mail server. It also enables you to create mail accounts and manage them, including performing a number of common mail-related operations. Such operations include changing the password for a mail account, enabling automatic replies, and so on.

If you do not need to create a mail account, proceed to the next step to learn how to add a custom DNS record in Plesk.

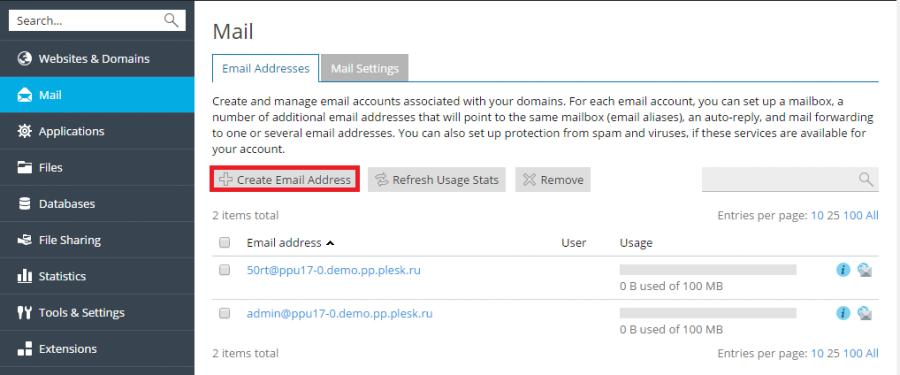
To create a mail account, go to Mail > Create Email Address.


image 77099
  • 0 Users Found This Useful
Was this answer helpful?

Related Articles

Step 2. Create a Database

Databases are relational structures used for storing data. Databases are indispensable in modern...

Step 4. Add a Custom DNS Record

DNS records serve to facilitate domain name translation and help visitors reach your website...

Step 5. Back Up Your Website

It is always recommended to keep a backup copy of your websites in case their configuration or...

Step 6. Change Your Password and Log Out

If you are a web hosting customer, it is likely that the password you use to log in to Plesk was...

Step 1. Create Your First Website

To set up your first website, you need to follow these steps: Register a domain name. Add a...